So how do you know when the dough has been kneaded
enough? First of all take a look at the pictures below, Bread that
is done being kneaded, will have a smooth silky appearance, much
like a babys skin. It will not be dimpled or have any kind of texture
to it’s surface. However this does not work with all breads,
there is another method that is fool proof for some breads, that
is creating a window pane. Pull a piece of dough off, and gently
pinch and pull the dough into a circle. Keep working it till it
becomes very thin. If the dough is properly kneaded you will be
able to pull it far enough out, that the stretched area, looks like
a membrane, that you can see light thru. 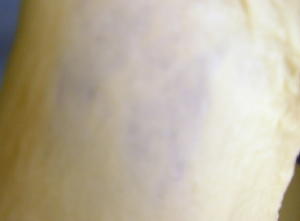 You
can actually see the strands of gluten as you do this. If the dough
tears before you can get it that thin, then knead it some more.
This technique works fairly well on most breads. It works ok on
whole wheat, but for doughs with a lot of whole grain or heavy ingredients
in them it will not work as well. You
can actually see the strands of gluten as you do this. If the dough
tears before you can get it that thin, then knead it some more.
This technique works fairly well on most breads. It works ok on
whole wheat, but for doughs with a lot of whole grain or heavy ingredients
in them it will not work as well.
Now for rising, remember, it is not about the time in the recipe,
but how does your dough look? Take two fingers, and press them gently
but firmly into the dough. It should leave an indent that does not
spring back.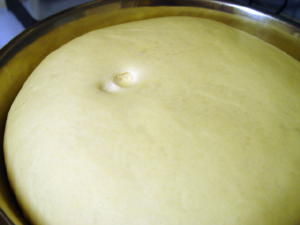 That is when you know it has risen enough. Did you know that you
can make a bread proofer out of your oven? Turn your oven to 250
then place a pan of water in there. On the bottom shelf. Let it
heat for a few minutes then turn it off. Place your dough in the
oven on the rack above the water, and allow to rise.
Once your dough has risen, punch it down, Knead it a few times,
then leave it on the counter covered for about 5 minutes to rest.
This just helps the gluten relax, for the next rise. Split your
loaves up into pans, and allow to rise a second time. This time
you really
Don’t want to poke your finger into it, to see if it is done,
since it will be your finished product, so I judge by height, it
the dough has risen to the edges of the cake pan, and the middle
is peeking over the top that is when I usually put my bread in the
oven. In this picture I did let it overproof a bit, but I dont mind,
this loaf of bread will be light and fluffy,and wonderful. 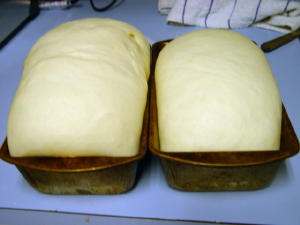 Whole
wheat will not rise as much, so I try to get the middle of the loaf,
to rise to the top of the pan. Whole
wheat will not rise as much, so I try to get the middle of the loaf,
to rise to the top of the pan.
If you like crust bread, put a pizza stone in your oven, and spritz
the oven with a bit of water.
Lastly how do you tell when bread is done. Most people thump the
top of the loaf, to see if it sounds hollow, but in my experience,
unless you have a very accurate and even heating oven, this technique
does not work well all the time. Another way to tell if the bread
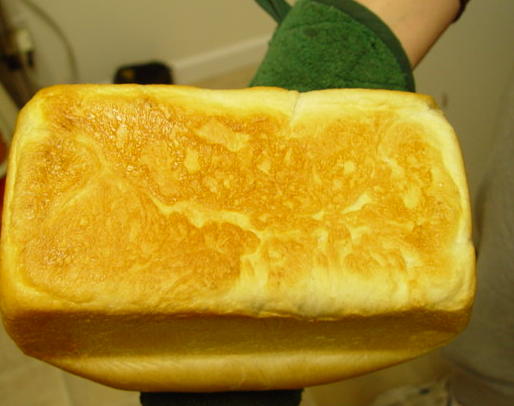
is ready is to gently slip it out of the pan, upside down, in a
protected hand, and thump the bottom of the loaf, it it sounds hollow,
is fairly stable, and a nice golden color it is most likely done.
This concludes this Bread baking lesson, I hope you learned something
from it that you can use.. 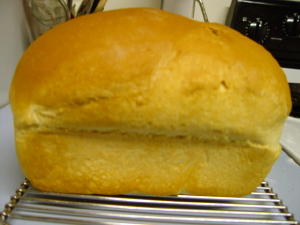
Next week we will cover, different types of breads, and some of
things you need to know to use certain ingredients. We will cover
whole wheat, in more depth, and we will talk about making dinner
rolls, breadsticks, hamburger buns, and hot dog buns, all from the
same recipe.
|